Creating custom MindNode themes
I’ve been extensively using MindNode for making notes at work (on macOS) for the past few years. I’m paying for the MindNode Plus subscription, primarily because I like the product and want to support it, and because, among other things, it enables the following functionality:
- Nodes can contain images. I’ve been pasting in a lot of screenshots while researching various topics.
- Nodes can be connected (linked) with arrows and you can add notes to the connections.
- You can switch between various layouts, such as vertical and horizontal.
- You can create custom themes, making the mind maps fit in (be on-brand) with the rest of the content they’re going to end up with.
This last feature is what this post is all about.
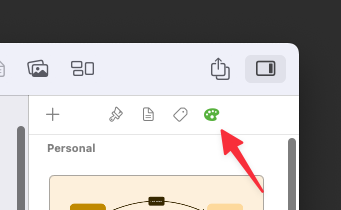
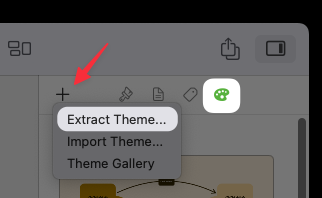
The theme management interface is hiding under the rightmost icon in the right sidebar’s (inspector’s) menu.
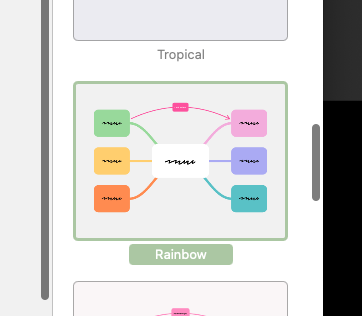
You’ll start off by selecting one of the existing themes as your starting point. This is a matter of personal preference, but if you ask me, I’d definitely start with the Rainbow theme. I’m not really a fan of the transparent (underlined) node style. I also like my branches and borders to be of the same color as the node’s body.
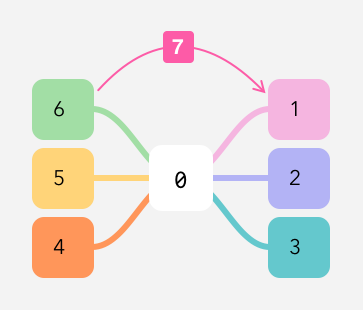
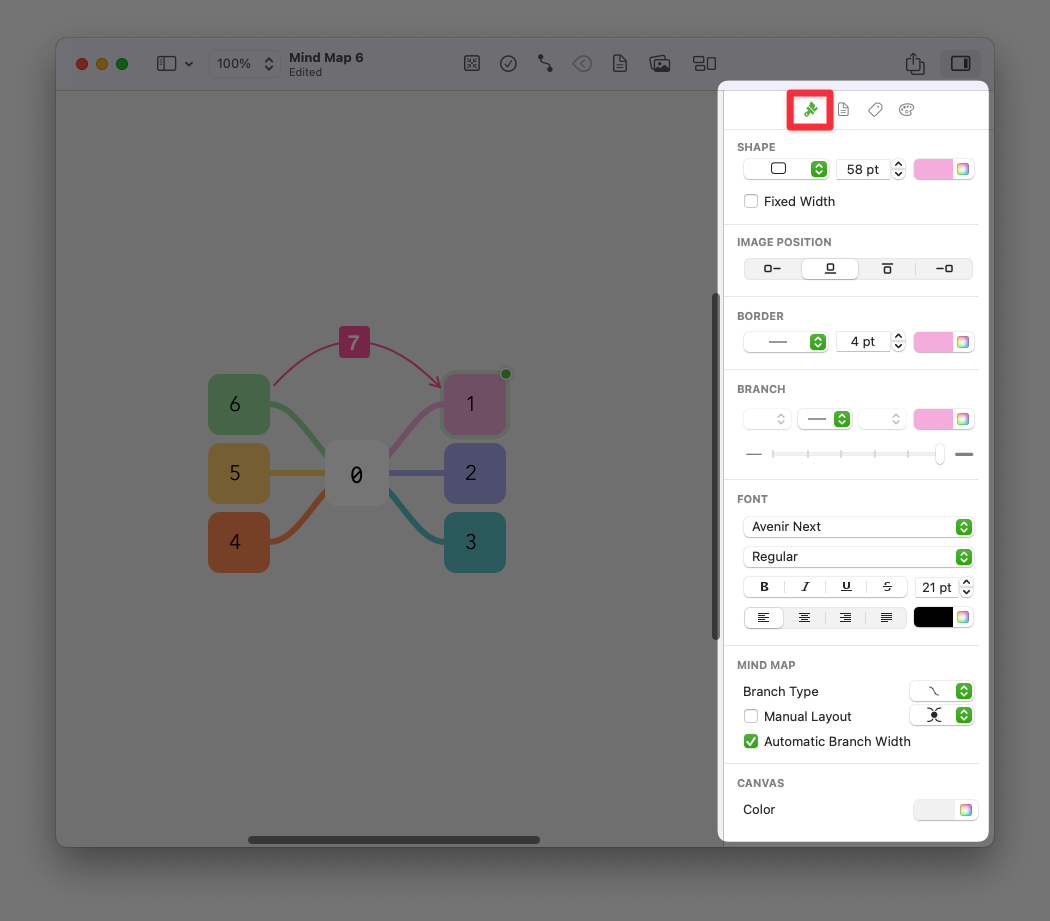
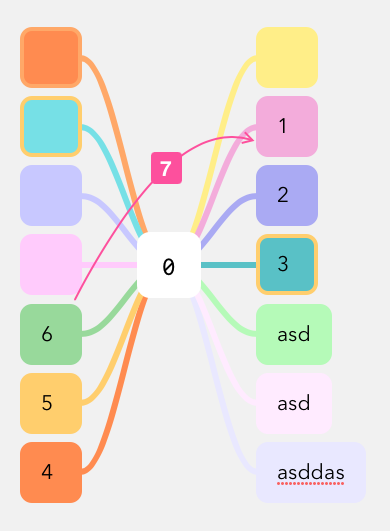
Then you can create up to six child nodes from the main node and a link between two of them, just like the layout you can see above. Make sure that you have six child nodes at most, otherwise the extraction process will end up with flaws.
Now you’re ready to start editing the style of the individual nodes and the connection. MindNode will remember the majority of things - node shapes, border settings, branch settings, font settings, the layout, etc. I believe that it will remember everything that can be customized in the Styles tab in the right sidebar (inspector).
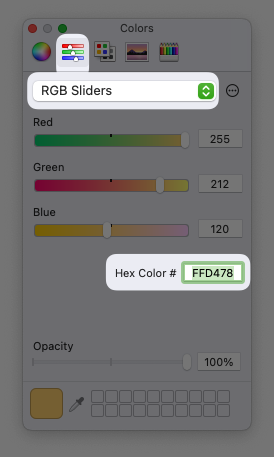
In case that you’ll be looking for a way to put in colors in hex form, you can find the input element under Color Sliders > RGB Sliders.
When you’re happy with the result go back to the Themes tab in the inspector, click on the plus sign, and select Extract Theme from the popup menu.
You’ll have the option to enable duplicate color prevention before the theme creation process is complete. If this is enabled then MindNode will come up with additional color combinations for child nodes after the sixth node. Otherwise it will start over every six child nodes.
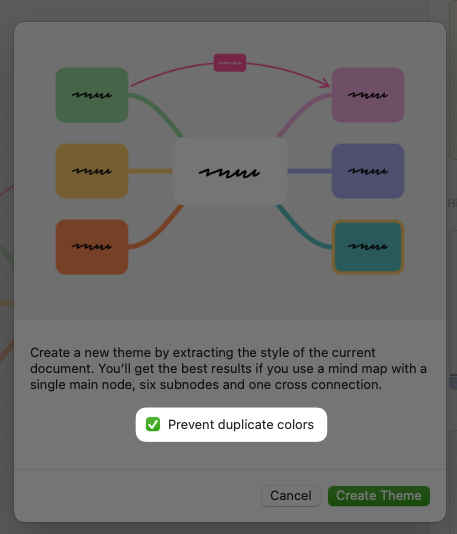
Below you can find an example of how this looks like - MindNode choosing additional colors for you. Personally I’m not a huge fan of the result and prefer the option to be disabled for the themes I’m creating - I don’t mind the repetition.
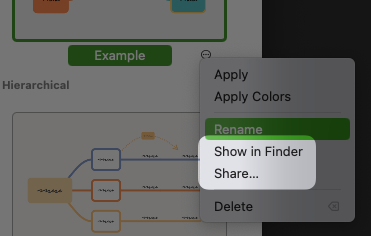
You can share the theme files with others through the themes’ context menu.
You can read more about this functionality here.